
Google has introduced
Navigation 3—a significant evolution in the navigation library built specifically for Jetpack Compose. This new approach ditches the old “NavController” setup and, most importantly, puts you in
Full control of your back stack – Instead of relying on hidden internal logic, navigating between screens is now as simple as managing a list:
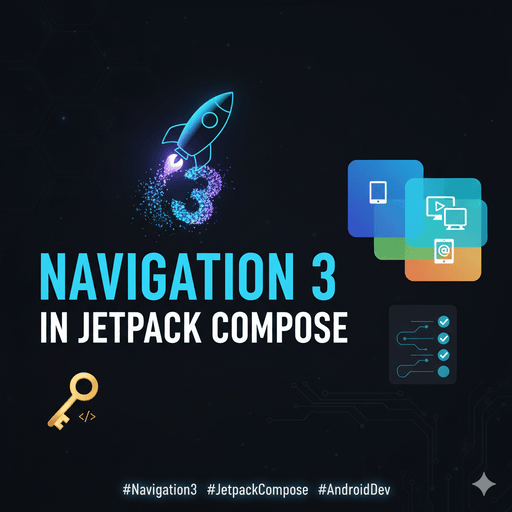
🔑 Why Navigation 3 is a Game-Changer
Navigation 3 makes Compose navigation safer, cleaner, and future-ready. This new model provides several key advantages:
- Simpler Integration with the Compose ecosystem.
- You Own the Back Stack: No more hidden “magic”; you control the history directly.
- Type-Safe Navigation: By using sealed classes or data classes for destinations, you eliminate fragile and error-prone “magic strings” for routes.
- Flexible for Adaptive UIs: It’s designed to support adaptive layouts across different form factors (mobile, tablet, desktop).
✅ The Navigation 3 Setup in Three Steps
Integrating Navigation 3 into your Compose app follows a straightforward pattern:
Step 01: Define Destinations (Keys)
In Navigation 3, every screen or destination is represented by a unique
key. This is typically an
object or a data class (if arguments are needed) that implements a shared interface, such as Route.
For example:
Kotlin
sealed interface Route
object Home : Route [cite: 33]
data class Detail(val itemId: String): Route [cite: 34]
Step 02: Create a Back Stack
With Navigation 3, you manage the back stack yourself—the library hands control directly to you. You use a simple
mutableStateListOf to hold the list of Route keys, typically initialized with your home screen:
Kotlin
val backStack = remember { mutableStateListOf<Route>(Home) } [cite: 43]Step 03: Provide Content for Each Destination
The system uses
EntryProviders to map each defined destination key to its corresponding composable UI. Within the main
NavDisplay composable, you use a when expression to determine which screen to show based on the current Route on the back stack.
To navigate forward, you simply
add a new Route to the backStack list. To navigate back, you
remove the last item from the list (pop the back stack).
📱 Adaptive Layouts with Multi-Pane Views
One of the coolest features of Navigation 3 is its built-in support for
multi-pane layouts. This is perfect for building adaptive UIs for larger screens, like tablets or foldables.
You can configure your
NavDisplay to show more than one screen at once. For instance, on a larger screen, you can show the
Home screen (list) and the Detail screen side by side by utilizing
SceneStrategies.TwoPane(backStack) within the sceneTransition block.
If you’re starting a new Compose project, now is the perfect time to explore this cleaner, type-safe, and future-ready navigation approach.
👉 Have you explored Navigation 3 yet? What’s your take on this new approach?
Leave a Reply